An 8 step guide to THE ULTIMATE GLOW

With the travel restrictions we’re facing in the UK, it doesn’t look like many of us will be catching a tan anytime soon (thanks, Covid). We still want you to look fantastic and feel amazing this Spring, so we’ve teamed up with Fake Bake to bring you our 8 tips and tricks to get that flawless holiday glow from the comfort and safety of your own bathroom. Trust us - they’ll never even know it’s fake ;-)
Step 1: Choose your weapon
Feeling adventurous? Why not try the Double Shot Espresso Gel Tan - a little really goes a long way, making this tan great value for money!
Step 2: Exfoliate everywhere
A few hours before you apply your tan, you need to prep your skin - fake tan is a bit like makeup, and always looks better when applied to a smooth surface. Frank Body’s scrubs are amazing for this - we absolutely love their Original and Coconut Body Scrubs. Simply get your skin wet, scrub, and rinse - paying special attention to areas like the ankles, knees and elbows. Be warned though: you NEED to do this step in the shower, or your carpets will pay the price!Note: now would also be the time to shave (if you’re choosing to), but make sure you leave at least 4 hours between this step and applying your tan if so.
Step 3 : Moisturise
We all have dry areas - usually places like the palms, knuckles, elbows, and ankles (but everybody is different). These areas tend to soak up more colour and can lead to a patchy tan, which is not what we’re aiming for. Applying a light layer of moisturiser to these areas puts a barrier between your skin and the fake tan, and makes dry, dark patches a thing of the past. Use a lightweight, non-greasy moisturiser such as the Superdrug Vitamin E Moisturising Body Lotion and leave 30 minutes to an hour for this to soak in before moving onto the next step.Step 4 : Keep your hair out of the way
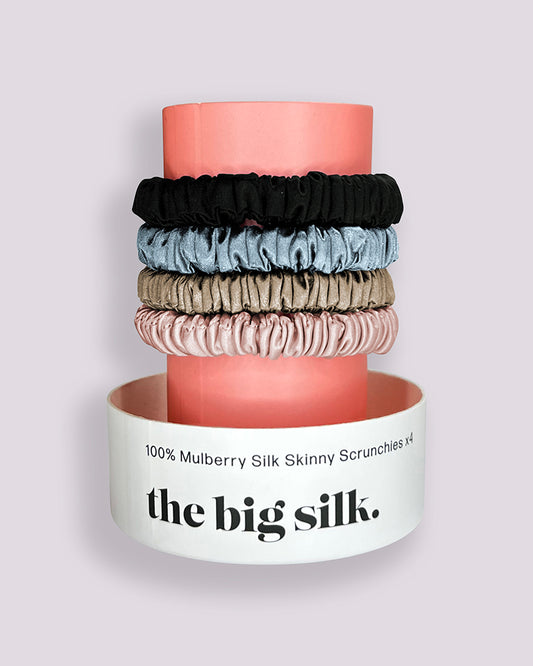
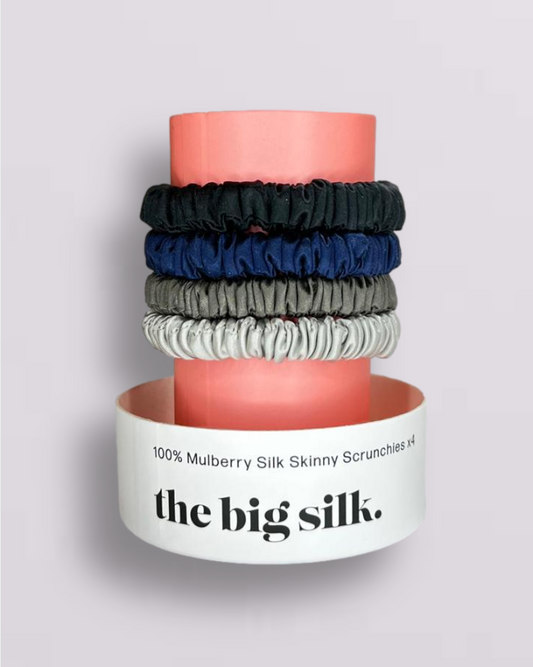
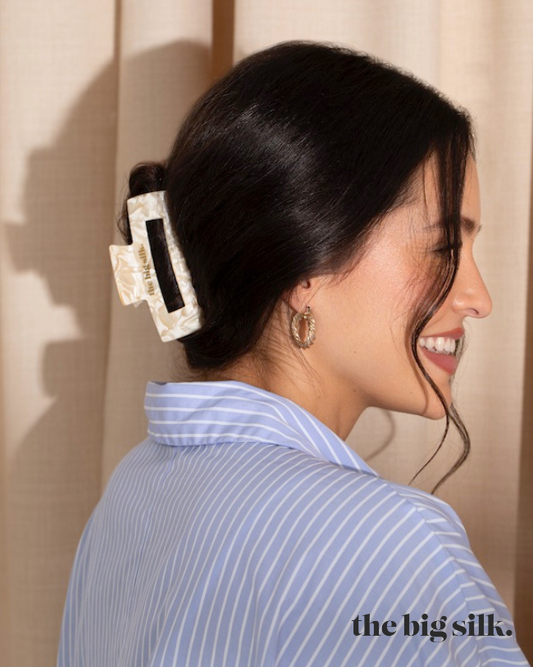
Things are getting serious now - we’re almost ready to apply the good stuff. But before we do, let’s get your hair out of your face (you don’t want it sticking to your tan). Our large black scrunchie and black beauty band are the perfect team to keep flyaways at bay whilst your getting down to business with your tan, as you don’t have to worry about staining them. Plus, they’re made from grade 6A, 22-momme, 100% pure mulberry silk, so they won’t damage or pull your hair - it’s a win-win!Step 5 : Apply your tan
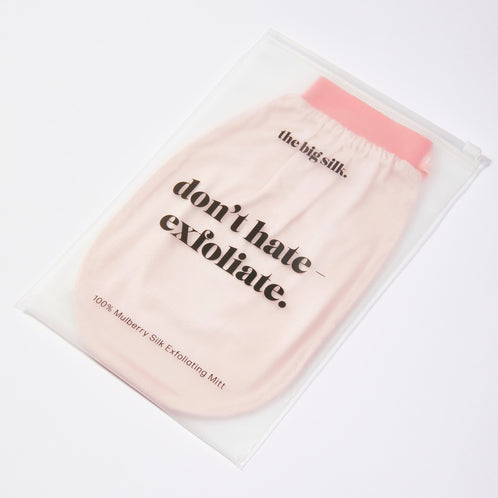
Okay now don’t panic, but it’s time to start applying the tan. Make sure you use a mitt like the Fake Bake Bronzie to ensure that your tan is applied evenly and avoid leaving behind any finger-streaks. For best results, start by applying the tan at the bottom of your legs and work your way up to your neck using long, straight strokes. Leave your hands and feet till last, but don’t use any extra product - just use what’s left on your mitt to get a natural, golden glow. When it comes to tanning your face, switch to a smaller mitt or a brush to distribute the product evenly.
Step 6 : Let it dry
It kind of goes without saying, but you need to let your tan dry before you put your pyjamas on or get into bed. Wait until your skin no longer feels sticky to the touch before putting on your pyjamas. We love these silky ones from Victoria’s Secret - their loose fit and silky material will prevent your tan from rubbing off whilst you get some beauty sleep.Step 7 : Relax
Step 8 : Rinse
Good morning, Sunshine! Time to wash off that guide colour to reveal your glowing goddess glow - just make sure you pat dry with a towel and avoid rubbing as this can remove your tan. Once you’re dry, moisturise again (especially those dry patches we talked about) - this will help your tan stay flawless for longer.And that’s it - fake tan? Completed it.
Want to win all of the Fake Bake, Frank Body and TBS products mentioned in this post? Head over to our Instagram - @thebigsilk - at 5pm on 08/03/21 to be in with a chance of grabbing all these goodies (plus more!) in our International Women’s Day Giveaway!

